Showing posts with label eyeliner. Show all posts

Sunday, May 10, 2015

Products Worth the Investment | Wet n Wild Mega Eyes Liquid Eyeliner Pen | Review + Swatches

Hello, hello there!

I hope you all are having a lovely day today!

I was actually debating on whether or not I should even bother doing a review on this product and decided that I should save any of you from possibly wasting your time and a couple bucks because every buck counts ya know? Well, today I'll share my experience and review of the Wet n Wild Mega Eyes Liquid Eyeliner Pen which I had quite high expectations for but I was equally disappointed with.

Don't get me wrong, I personally think Wet n Wild is one of the greatest, super affordable, cruelty free companies out there, but just like other companies they have products that are absolute fails and this is one of them.

A while back I was in search for an affordable black liquid eyeliner to use for quick touch ups on the go and for covering up any excess lash glue. The Wet n Wild Mega Eyes Liquid Eyeliner Pen was one of the top eyeliners recommended to me so I was really looking forward to checking it out.


The felt tip applicator is very user friendly and can be used to create both fine and bold lines.
My only complaint on the applicator is that the tip is not too precise...its not bad though, its perfectly usable.
Swatches of the Wet n Wild Black Liquid Eyeliner.

As they're swatched on my arm, the eyeliner is visibly seen slowly fading from an opaque black at the top to a streaky black at the bottom.

The very first time I used this eyeliner, I was really impressed with how opaque and richly pigmented the initial application was on my right eye, but when I did my left eye it started drying out and fading! It was like I used two different liners! I found that putting the cap back on and waiting for five or so minutes helps bring more moisture and product to the applicator, but seriously, I don't want to have to wait for five minutes to do my other eye every time I use this eyeliner!

Even if I store this upside down with the applicator down, the pen still dries out by the time I do my other eye. I gave this eyeliner about three tries and gave up on it. It just wasn't worth all the fuss.


So there you have it, a quick and straight forward review of the Wet n Wild Mega Eyes Liquid Eyeliner Pen. 


Got any requests? Leave them in the comments below!


-Mary

Thursday, April 9, 2015

Soft Pastel Eyes | Makeup Tutorial

Helloooo!

I meant to post this before Easter Sunday but the Internet wasn't working so this post is soo late! Ugh. Anyway, this soft pastel eye look reminds me so much of the traditional cute pastel Easter eggs, but if you don't celebrate Easter, this look will be great for any spring or summer day.

Here's the final look.

With a buffing brush, I started by taking a cream colored shadow and buffed this all over my lid and up ti the brow bone to set the primer. Doing this not only sets the primer and gives us a nice, even base to work with, but it also makes blending easier.


Using a fluffy blending brush, I took a taupe shadow and blended this all over the crease and blended this up and out to the brow bone and outer V areas.


With a flat shader brush, I took a matte light pink shade and patted this all over the mobile lid.
Then with a clean blending brush, I blended all the shades smoothly together.


With a duo fiber blending brush, I took a pink champagne highlighter and highlighted my brow bone and inner corners.


Then with a small detailed brush, I took a medium toned brown and used this to define my lower lash line.

Using a pastel blue pencil eyeliner, I lined my eyes and winged it out at the end. I then brought that medium toned brown shade and lined the bottom of the wing. This will further define the wings to make them stand out.

I finished the eye look with some mascara on the top and bottom lashes.

To complete this look I used: elf Mineral Face Primer, L'Oreal True Match Concealer in W4-5, elf HD Lifting Concealers in Light and Fair, elf eye primer in sheer nude, Rimmel Stay Matte Setting Powder in Transparent, Smashbox Photo Set Pressed Powder in Dark, Benefit Hoola Bronzer, Tarte Amazonian Clay Blush in Natural beauty, elf Baked Blush in Pinktastic, elf Cream Eyeliner in Black, Lorac PRO Palette, Sephora Outrageous Volume Mascara, Jordana Pencil Eyeliner in Baby Blue, elf clear mascara and brow gel, NYX Hot Red Lip Liner, Kat Von D Foiled Love Lipstick in Adora.


I hope you liked this little tutorial as much as I do.
Stay tuned for more tutorials and reviews!

-Mary

Sunday, March 1, 2015

Products Worth the Investment | Sephora 12HR Jumbo Liner

Hello hello!!

Happy March! I hope everyone has a great month and year ahead of them!

Today's Products Worth the Investment review is on the Sephora 12 Hour Jumbo Liner pencils which are a collection of 28 multipurpose pencils that could be used as eyeliners or eyeshadows.

These jumbo pencils create a range of different effects and are resistant to water, heat, and humidity. From deep blacks to rich and shimmery shades, each is formulated with exclusive waxes and pigments to assure maximum color intensity that stays put for 12-hours, as it claims on the Sephora website.

There are 28 different colors available:
1. White                      15. Silver Glitter
2. Grey                        16. Grey Glitter
3. Taupe                      17. Beige Glitter
4. Beige                       18. Pink Glitter
5. Brown                     19. Dark Taupe Shimmer
6. Gold                        20. Brown Glitter
7. Khaki                      21. Dark Brown Matte
8. Green                      22. Green Shimmer
9. Turquoise                23. Peacock Blue Shimmer
10. Marine                  24. Electric Blue Matte
11. Violet                    25. Mauve Shimmer
12. Purple                   26. Purple Glitter
13. Glitter                   27. Purple Matte
14. Black                    28. Lilac Shimmer

Claims:
                                         O agree     X disagree
-O Can be used on the inner corner, outer corner, upper and lower lid, waterline and tight line.
-
O Can create a dramatic finish or a soft blended out finish.
-O Pencil may be blended with fingers or a brush to spread color all over the eyelid. 
-O Layer two jumbo pencils to create your own custom look. 
-X Can be used as a base for your eyeshadows to make them last all day long. 

For some reason, you cannot use these pencils as an eyeshadow base because it will only create a really harsh, unblended look under your eyeshadows. It works better to lay it over your eyeshadows to create an even more intensified look.


Retail Value: $14 USD

One Swipe. Left to right: White, Purple Glitter, Taupe, Khaki, and Black.
Rubbed swatches.
Wet swatches after rubbing.


Overall, I think the Sephora 12HR Jumbo Liners are worth the investment, especially if you can get them on a discount or bundle. I would say though, that $14 for each pencil sure is a bit pricey, but these are absolutely great products that are super pigmented. With these, a little fefinitely goes a long way! I swipe these over my mobile lid when I just want a quick brightening color or I smudge it out for a nice cream shadow or waterproof liner. I find that these are the only eyeliners that I've tried so far that are actually waterproof and stay on for over 12 hours even on the waterline! As you can see the swatches from after smudging and wetting still stayed in place and are still very vibrant.

Let me know what you think of these Sephora 12HR Jumbo Liners and definitely let me know if you have any comparable products for less!


Thank you for reading!! 

-Mary

Saturday, February 28, 2015

Products Worth the Investment | NYC Liquid Eyeliner | Review + Swatches

Hello there!

This weeks Products Worth the Investment review is on the NYC Liquid Eyeliner. If you follow me on Instagram (@wndr14lnds), then you might recall me being on the hunt for a good drugstore liquid eyeliner that could be used to cover excess lash adhesive. Well, this was the eyeliner that was recommended to me the most so I definitely wanted to give it a try.


Brush tip applicator.

I only realized that I picked up the pearlized black shade when I got home, but they have a regular black shade available too.

Overall, I really like this NYC Liquid Eyeliner and I will definitely be purchasing the regular black shade. Even if I didn't end up using this particularly for covering excess lash glue like I intended to, I still really enjoy this for adding a nice twist to my regular black eyeliner looks. This eyeliner is super pigmented and long lasting. I love the brush tip which is super precise at the tip, allowing you to create the fines and boldest lines in just a couple strokes.


Got any product recommendations or suggestions? Leave them in the commends below!

Thank you for reading!
Stay tuned for more reviews!!

-Mary

Sunday, December 21, 2014

Makeup Tutorial | A Classic Golden Smokey Eye

Hello hello there!!

Today I have another makeup tutorial for you on this classic, golden smokey eye...it never gets old! Plus its perfect for the holidays!

I hope you enjoy!


Here's the finish eye look.


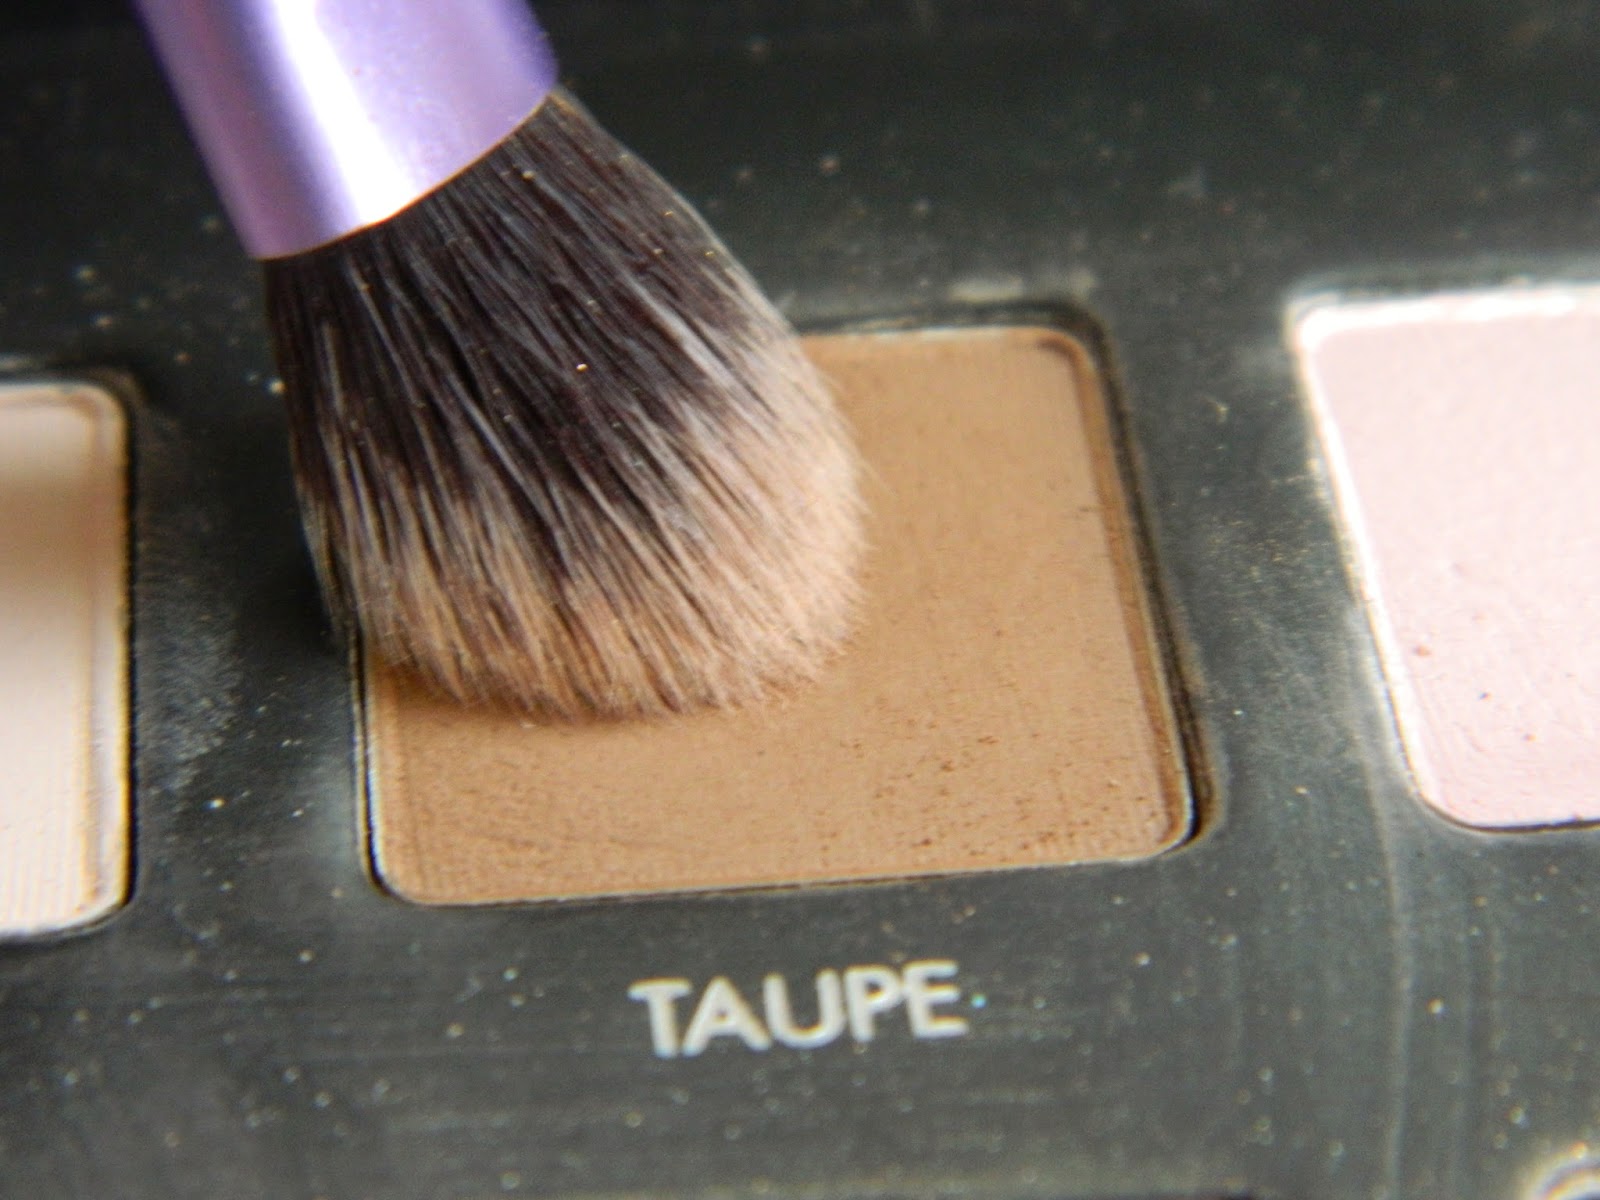
With my lids already primed, I'm taking this Taupe shade from the Lorac Pro palette with the Real Techniques Base shadow brush and blending it along the crease and up to my browbone.

With my e.l.f. Blending Brush, I took this Sable shade from the same palette and blended it on my crease and into the Taupe shade from the previous step.


 With a flat shader brush, I took the Gold shade from the Lorac PRO Palette and placed it on the moving part of the lid.


I then took Pewter on the same flat shader brush and placed it on my outer Vs.


Finally, with the Real Techniques Duo Fiber eye brush and the Nude shade, and highlighted my inner corners and browbone.


This is optional, so if you want a cleaner look on the bottom lashline, you could skip this step.
But since I wanted a smokier look, I took the shades Sable and Gold and lined my bottom lashline to match the eyeshadow on the lid.
To finish off the eyes, I lined my eyes with a black gel liner, curled my lashes, added some mascara on the top and bottom lashes, then added some falsies of some added drama to this look.
Here are the products I used for the rest of my face.
Smashbox Photo Finish Face Primer, L'oreal True Match Mineral Powder Foundation in 'Natural Beige W4-5/464',  Smashbox Photo Set Pressed Powder in 'Dark' (for bronzer), Tarte Amazonian Clay Blush in 'Flush', Lorac Pro Palette, eos lip balm, e.l.f. Eyelid Primer in Nude, e.l.f. Cream eyeliner in Black, Jordana Eyeliner in Black (brow pencil), Smashbox Full Exposure mascara, Smashbox Be Legendary Lipstick in Honey. 

I hope you enjoyed this tutorial!
And if you decide to recreate this look, don't forget to share it with me, I'd love to see your recreations! :)


-Mary

Sunday, November 16, 2014

Finding the Perfect Eyeliner

Hello hello!

Have you ever wondered what is the perfect eyeliner? 
I'm pretty sure we've all been there...whether you're a beginner or a pro, I'm sure that question has popped up at least once. 

At least once, we've wondered what is the best eyeliner or what type of eyeliner to buy or what type of eyeliner would best suit an eyeshadow look you've created. Finding the 'perfect eyeliner' could definitely be a tricky task, but can make all the difference!

With a goal of helping you find the perfect eyeliner, I will tell you just about all that you need to know about eyeliners and when its best to use each one.


Pencil Eyeliner

Pencil eyeliners generally come in either a regular pencil form or a retractable pencil form (you typically get more product with the regular pencil forms). Pencil eyeliners tend to be what most people use for a day to day look as it gives a softer look and is what is recommended for starters to use.
I used pencil eyeliners for over two years before I moved on to using liquid/gel eyeliners. 
I will have to agree that having an experience with pencil eyeliners makes applying other types of eyeliners so much easier! 

Pros:
Provides a soft, natural look...easily smudges (may also be a con).
Doesn't require time to dry.
Great for upper/lower lash lines and the waterline and tight line (if waterproof). 
Great for smokey eye or everyday looks.

Cons:
Doesn't provide a sharp, clean look (may also be a pro).
Requires sharpening (depending on what type you have).


Liquid Eyeliner

Generally has either a brush or felt tip applicator that looks like a pen. With liquid eyeliners, you need a steady hand and should apply very slowly by using short brushing strokes starting in the inner corner and close to the lash line. 
Liquid eyeliners are great for bold and dramatic looks as they provide a clean, sharp finish.

Pros:
Great for sharp, clean looks, Arabic makeup, cat eyes, and dramatic looks.
Provides a well-defined, sharp, thin line or a thick bold line.

Cons:
Very difficult to apply well.
Typically cannot be applied on the lower lash line, waterline, and tight line.
Takes a very steady hand, patience, and tons of practice.

**Quick Tip: You can use a pencil eyeliner to quickly outline a specific eyeliner look and then go over your pencil outline with a gel/cream or liquid eyeliner.


Gel/Cream Eyeliner

Generally comes in a small pot that you can dip an angled brush, fine tip brush, or even a pencil eyeliner in to get the product out. Like a liquid eyeliner, you will need a steady hand as it is creamy and glides on very easily. 
Since this liner takes a bit longer to dry, it is great for smudging along the lash line before it sets. 
Just like a liquid eyeliner, gel eyeliners are great for bold and dramatic looks as they can achieve a clean, sharp finished look...but also like a pencil eyeliner, gel eyeliners are great for soft everyday looks as they can achieve a smudged out, soft finished look.

Pros:
Very creamy and easy to smudge (may also be a con).
Great for smokey eye looks.
Could be used as an eyeshadow base.

Cons:
Not as portable/convenient to travel with as a pencil or liquid eyeliner.
Like liquid eyeliner, you need a steady hand and tons of practice.
Typically cannot be applied on the waterline and tight line.


In my opinion, there really isn't a perfect eyeliner. I believe that it just depends on the look you're aiming to achieve because each eyeliner has its own pros and cons and serves its own unique purpose. 
Out of the three however, I prefer using gel/cream eyeliners most because depending on the brush you use and how you apply it, it could create the same looks as both a pencil or a liquid eyeliner.


Considering the above information, what is your 'perfect eyeliner'? Or what type of eyeliner do you prefer to use?


-Mary

Monday, November 3, 2014

Makeup Tutorial: A Go-to/Everyday Smokey Eye

Hello hello!!

Happy November!
Todays makeup tutorial is one of my favorite go-to eye looks that are suitable for everyday wear and with the change of a lip color, could even pass for a night out. One of the main reasons I really enjoy this look is because it makes you look like you've spent more time doing your makeup than you actually did.

The finished look.


Using my Real Techniques Base Shadow Brush, I blended this Sue Devitte eyeshadow all over the lid and up on the crease.


Using the same Real Techniques Brush, I blended the Slate shade from the Lorac PRO Palette 1 into the outer-V and into the crease. Using a Real Techniques Detail Brush, I smudged the same Slate shade halfway through the bottom lash line.
I then lined and winged my eyes and added some mascara to finish this look.
For the rest of the look, I used the e.l.f. Mineral face Primer, L'oreal True Match Mineral Powder Foundation in 'Natural Beige W4-5/464', Smashbox Photo Set Pressed Powder in 'Dark' (for bronzer), Smashbox 'Hint of Bronze' Blush (for bronzer), Tarte Amazonian Clay Blush in 'Flush', e.l.f. Studio Blush in 'Pink Passion', Milani Bella Gel Powder Eyeshadow in '28-Bella Chiffon', e.l.f. Eyelid Primer in 'Nude', e.l.f. Cream eyeliner in 'Black', e.l.f. Eyelash Primer, Smashbox Full Exposure Mascara, Sue Devitte eyeshadow in '', Lorac PRO Palette 1, and a Jordana Twist & Shine in 'Honey Love'.

-Mary
Monday, October 20, 2014

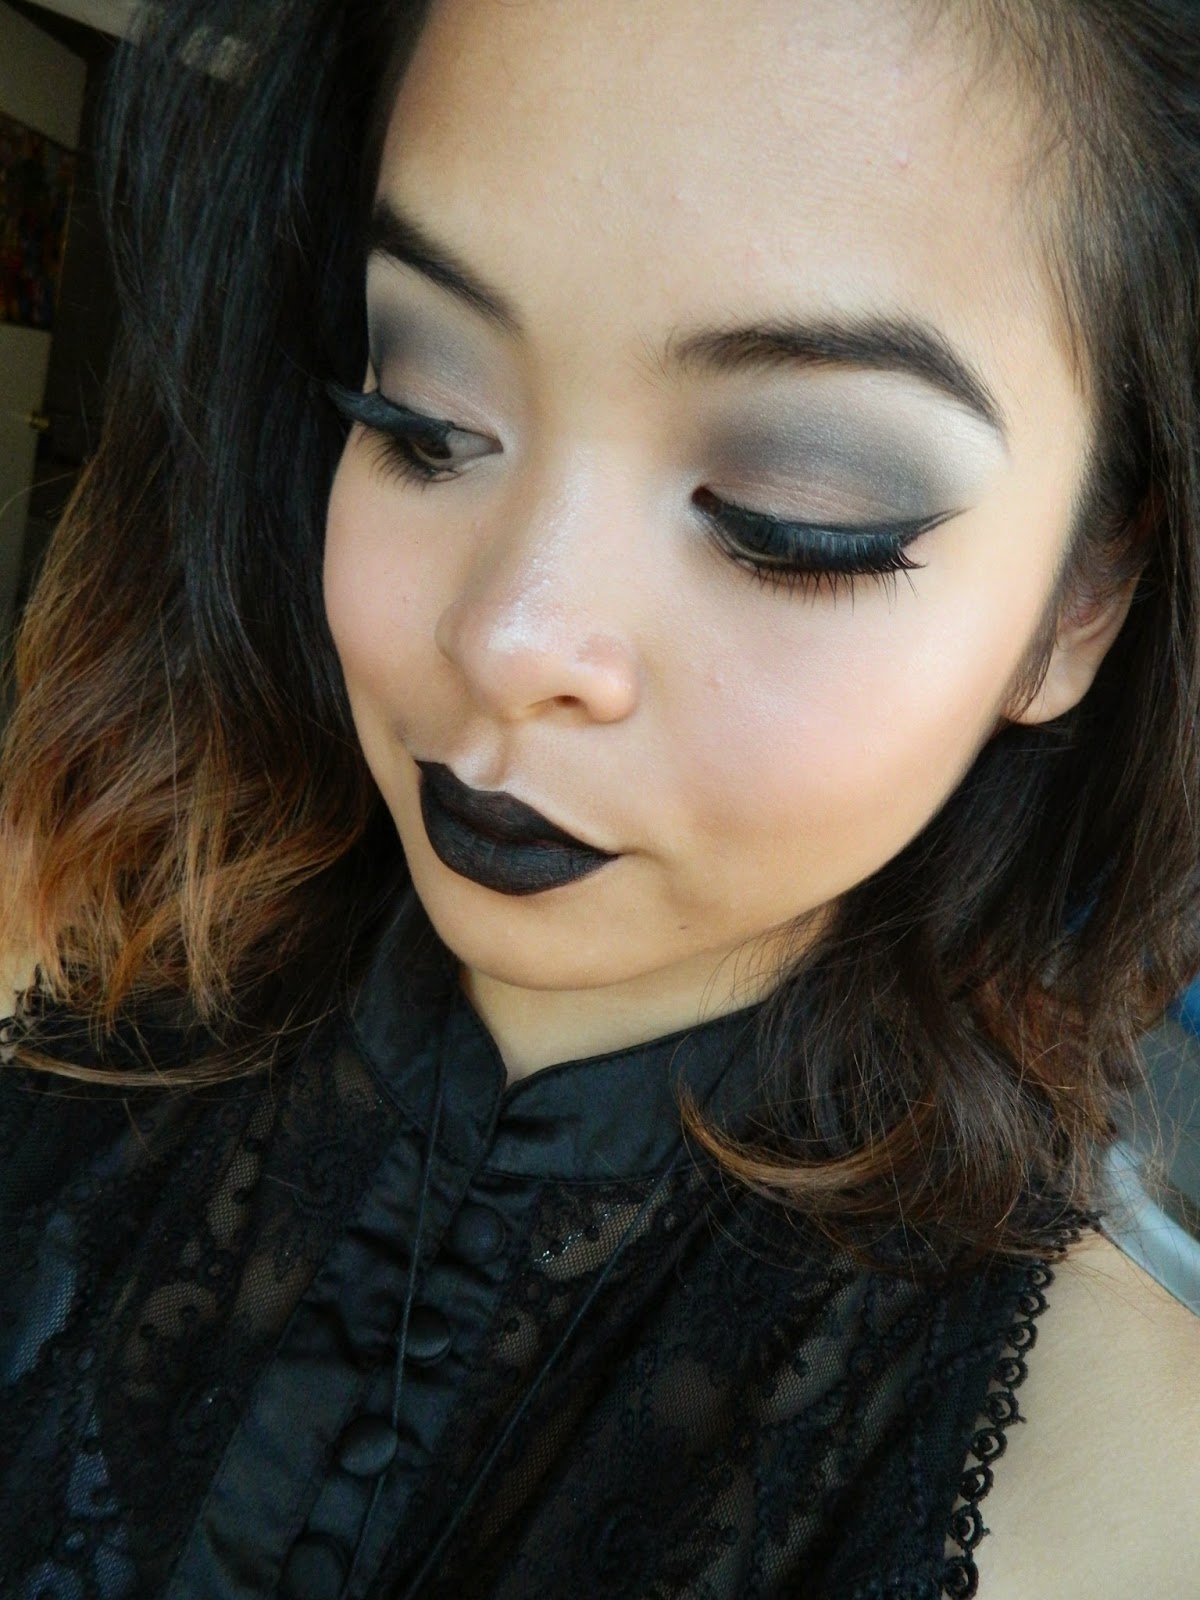
Halloween Inspired | Crow Inspired Makeup Tutorial

Hello hello!

Today I have another Halloween inspired makeup tutorial for you!

As you might have noticed, I like doing slightly more wearable looks for Halloween instead of doing scary monster/creature makeup. I hope you're enjoying this series and I hope your taking inspiration from these!

I took inspiration from a crow to create this eye look. I think its the eyeliner and the falsies that really ties it all together, but just by changing the eyeliner, you could instantly transform this into an evil witch makeup.

Here's the finish look.


With my lids already primed, I started by taking the shade Buff from the Lorac Pro 2 palette with my Real Techniques Base Shadow brush and applied it all over my lids and up to the brow bones.


With the same brush, I then took the shade Taupe from the Lorac PRO palette and used it to slightly define my crease, blending upwards to meet the brosbone.


With a flat shader brush, I then picked up the shade Chrome from the Lorac PRO 2 palette and placed this on the moving part of my lid.

With the e.l.f. Blending brush, I picked up this Deep Purple shade form the Lorac PRO palette and blended it directly into the crease, working my way up and fading the Deep Purple into the Taupe shade from the previous steps.


With the Real Techniques Duo Fiber Eye Brush, I highlighted my inner corners and browbones with the shade Snow from the Lorac PRO 2 palette.

After adding the highlight, I realized I wanted my eyes to have a slight hint of blue, so I picked up a tiny amount of the Navy shade form the Lorac PRO 2 palette and blended it over the purple.
If I were to redo this whole procedure, I still wouldn't skip the Purple shade because it adds definition to the crease.

Finally, I finished my eyes by drawing a double wing eyeliner, curling my lashes, adding some mascara, and of course, top and bottom falsies!
Here are the rest of the products used to create this look.
L'oreal True Match Mineral Powder Foundation in 'Natural Beige W4-5/464',  Smashbox Photo Set Pressed Powder in 'Dark', Smashbox 'Hint of Bronze' Blush, e.l.f. Eyelid Primer in 'Nude', Lorac PRO Palette 1 and 2, Tarte Amazonian Clay Blush in 'Flush', e.l.f. Cream eyeliner in 'Black'.


I hope you enjoyed this crow inspired makeup tutorial!

-Mary