Thursday, October 30, 2014

Day of the Dead Sugar Skull Makeup Tutorial

Hello hello there!

Today I have a sugar skull makeup tutorial for you!
Enjoy!!


Here is the finished look.
For my eyes, I started by highlighting my inner corners with a shimmery white eyeshadow (Snow from the Lorac PRO 2).
I then drew on a bold wing eyeliner with the e.l.f. Black Cream eyeliner.
With a small precision brush, I took the NYX Eyeshadow Base in White and drew a line where I wanted my skull to start.
With the e.l.f. Small Stippling Brush, I stippled the NYX White Eyeshadow Base evenly over the area I want to be covered with white. I then set the Eyeshadow Base with a translucent powder or Baby Powder.
Instead of the Eyeshadow base, you could definitely use a white face paint, I just couldn't use my white face paint because I'm allergic to it! :(
I then added purple eyeshadow to the areas I wanted to (a flower on my chin, contoured my cheekbones, and around my hairline). Instead of purple you could definitely switch it up with another color or be creative and use different colors with different finishes.
Finally, with the black eyeliner, I outlined the purple flower, my contoured cheeks, filled in my nose and added dots where I found it most appropriate. Here is where you could get as creative as you'd like.
Products used to create this look:  L'oreal True Match Mineral Powder Foundation in 'Natural Beige W4-5/464', e.l.f. Cream eyeliner in 'Black', L'oreal Voluminous Miss Manga Mascara in 'Blackest Black', NYX White Eyeshadow Base, DIY purple eyeshadow pigment, and the LORAC PRO 2 Palette (forgot to include in the picture).

I hope you enjoyed this quick tutorial/walk through! 
Stay tuned for more!

-Mary

Monday, October 27, 2014

Halloween Inspired | Plastic Smile Tutorial

Hello hello there!

Today I have another really quick Halloween makeup tutorial/walk through and its on this Plastic/Fake Smile!
I hope you enjoy!


Here's the final look.
Of course you can skip drawing the teeth, but I thought drawing my teeth to make them look so huge would just be hilarious.. 
With my lips moisturized with a lightweight, dry formula lip balm, I started by filling in my whole bottom lip with white lip liner/eyeliner.
I then filled in my upper lip with a red lip liner and drew a fake bottom lip right underneath the white.
You can leave it at this and top off your 'lips' with lip gloss for a Barbie/Bratz Doll look.
To finish it off, I outlined my lips and teeth with a black eyeliner.
 Products used to create the rest of this look: L'oreal True Match Mineral Powder Foundation in 'Natural Beige W4-5/464', e.l.f. Cream eyeliner in 'Black', NYX White Eyeshadow Base, Laura Geller Blush in 'Apricot Berry', Rimmel Khol Eyeliners in 'Nude' and 'White', NYX 'Hot Red' lip liner, L'oreal Voluminous Miss Manga Mascara in 'Blackest Black', love&beauty black liquid eyeliner.


I hope you enjoyed this quick tutorial! Stay tuned for more!! :)

- Mary

Friday, October 24, 2014

Halloween Inspired | Monster Mouth Tutorial

Hello hello there!!

Halloween is just around the corner and if you're like me, who has no idea what to be for Halloween, then I hope these little quick tutorials will help you and hopefully inspire you!

Today I have a really quick tutorial/walk through on this monster mouth.
Enjoy!!


Here's the final look.
I started by quickly sketching everything out with my white, red, burgundy, brown eyeliner pencils.
...please excuse my random paleness in this picture...
Using a white cream eyeliner/eyeshadow base, I filled in all the white spaces for the teeth and blended out my reds and burgundys together to create the gums.
Just continue to fill in the teeth, gums, lips and the empty black parts in between the spaces.
I decided to outline the teeth with black as well, just to make them stand out slightly more.
Products used to create this look: L'oreal True Match Mineral Powder Foundation in 'Natural Beige', the Balm Instain blush in 'Lace', Milani Bella Gel Powder eyeshadow in 'Bella Chiffon', NYX Soft Matte Lip cream in 'Antwerp', NYX White eyeshadow base, NYX lip liners in 'Prune' and 'Hot Red', Rimmel White eyeliner, e.l.f. Black Cream Eyeliner, L'oreal Voluminous Miss Manga Mascara in 'Blackest Black'
Another shot of the final look.

I hope you enjoyed this quick tutorial/walk through!

Stay tuned for more! :)
- Mary

Monday, October 20, 2014

Halloween Inspired | Crow Inspired Makeup Tutorial

Hello hello!

Today I have another Halloween inspired makeup tutorial for you!

As you might have noticed, I like doing slightly more wearable looks for Halloween instead of doing scary monster/creature makeup. I hope you're enjoying this series and I hope your taking inspiration from these!

I took inspiration from a crow to create this eye look. I think its the eyeliner and the falsies that really ties it all together, but just by changing the eyeliner, you could instantly transform this into an evil witch makeup.

Here's the finish look.


With my lids already primed, I started by taking the shade Buff from the Lorac Pro 2 palette with my Real Techniques Base Shadow brush and applied it all over my lids and up to the brow bones.


With the same brush, I then took the shade Taupe from the Lorac PRO palette and used it to slightly define my crease, blending upwards to meet the brosbone.


With a flat shader brush, I then picked up the shade Chrome from the Lorac PRO 2 palette and placed this on the moving part of my lid.

With the e.l.f. Blending brush, I picked up this Deep Purple shade form the Lorac PRO palette and blended it directly into the crease, working my way up and fading the Deep Purple into the Taupe shade from the previous steps.


With the Real Techniques Duo Fiber Eye Brush, I highlighted my inner corners and browbones with the shade Snow from the Lorac PRO 2 palette.

After adding the highlight, I realized I wanted my eyes to have a slight hint of blue, so I picked up a tiny amount of the Navy shade form the Lorac PRO 2 palette and blended it over the purple.
If I were to redo this whole procedure, I still wouldn't skip the Purple shade because it adds definition to the crease.

Finally, I finished my eyes by drawing a double wing eyeliner, curling my lashes, adding some mascara, and of course, top and bottom falsies!
Here are the rest of the products used to create this look.
L'oreal True Match Mineral Powder Foundation in 'Natural Beige W4-5/464',  Smashbox Photo Set Pressed Powder in 'Dark', Smashbox 'Hint of Bronze' Blush, e.l.f. Eyelid Primer in 'Nude', Lorac PRO Palette 1 and 2, Tarte Amazonian Clay Blush in 'Flush', e.l.f. Cream eyeliner in 'Black'.


I hope you enjoyed this crow inspired makeup tutorial!

-Mary

Friday, October 17, 2014

Products Worth the Investment: Smashbox Hint of Bronze Limited Edition Set | Review + Swatches

Hello there!

Looking for a product that gives your skin a perfect sun kissed, bronzy glow all year round?
Well I may have just found that perfect product for you!


The Smashbox Hint Of Bronze Set has an accumulative retail value of $87 (if you bought each of the products individually), but the set retails for $40 on the Smashbox website.
On eBay you could find yours from a trusted seller from $20-40.

Now for those of you who are wondering why I'm still mentioning this product when its limited edition and its out of stock...well, I just recently bought mine on eBay, where there are a lot of top rated sellers that still sell this product, and ever since I bought this, I just fell in love with all the four products this set has. I highly highly recommend it even to those who aren't fond of bronzing their skin.


Kit Includes all these full-size items:
  • Full Exposure Mascara (my all time favorite mascara)
  • Reflection High Shine Lip Gloss in Hint of Bronze
  • Blush in Hint of Bronze
  • Be Legendary Lipstick in Honey (my favorite nude/summer/spring lipstick)

From left to right: Reflection High Shine Lip Gloss in Hint of Bronze, Be Legendary Lipstick in Honey, Blush in Hint of Bronze, and the Full Exposure Mascara in Jet Black.


The Full Exposure Mascara is my favorite mascaras of all time! (I will soon do a review on it, so stay tuned!). I swear by this mascara, it gives a lot of length and volume without clumping or weighing down my lashes. With this mascara, I find that I'm good to go with just one or two coats without my lashes being clumpy or spidery at all! I love love love this mascara!

The Reflection High Shine Lip Gloss in Hint of Bronze is a great product as well! I am not a lipgloss type of girl so I rarely find myself reaching out for this product, but when I do, I end up loving i!. This lipgloss has a sweet marshmallow scent to it, its texture is rich and thick but not overly sticky to where I feel like my lips have glue on them. It also complements the lipstick very well and it definitely goes along with that shimmery honey glow.

The Blush in Hint of Bronze is again, one of my favorite bronzers, I used to use a Smashbox Photo Set Pressed Powder in the shade dark for a matte bronzer, but I find that this is almost the same color as the pressed powder so I think they bother work amazing for bronzing (I will have a full review on this bronzer up soon too, so stay tuned!). I would say though that I think this would better sooth someone with fairer skin. I have a light to medium skin tone, and when I use this for bronzing, I find that I really have to layer it and get a lot of product on my brush. If you have darker or deeper skin, I think this would work well as a perfect, natural highlighter for you.

The Be Legendary Lipstick in Honey is again, one of my favorite lipsticks in my whole collection. I know, I feel like I'm repeating myself here, but seriously, this lipstick is amazing on my light to medium skin tone especially during summer and spring. If your skin ranges from fair to medium, this will be a perfect summer or spring lipstick and if you have a darker skin tone, this is a perfect honey/bronzy nude lipstick. It is very buttery, creamy, and moisturizing on the lips as well.


Although this is a limited edition set from the Smashbox, it is still available in Amazon and eBay where I recently purchased mine for $28 + free shipping and handling!


If you  decide to pick this up, let me know what you think, I'd love to hear from you!


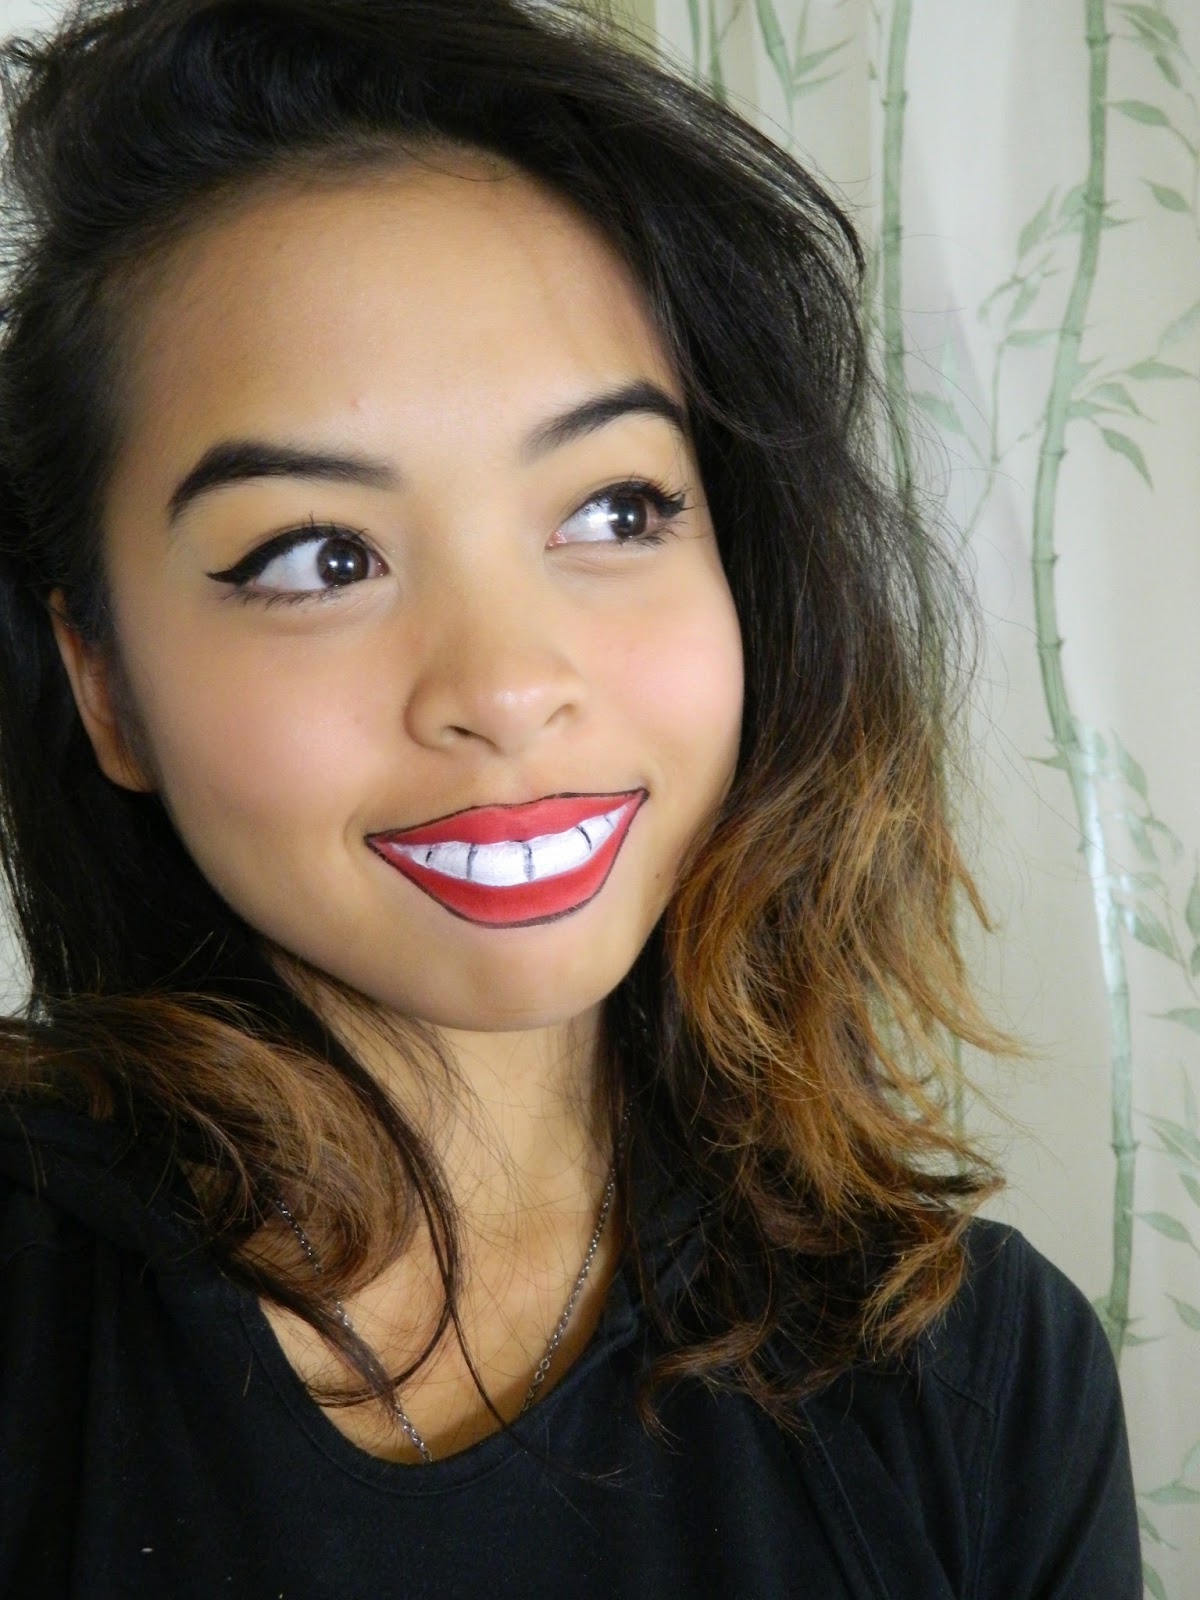
For reference, in this picture I'm wearing the Hint of Bronze blush as a bronzer and the Be Legendary lipstick in Honey


-Mary

Monday, October 13, 2014

Helloween Inspired | Cat-Eye Inspired Makeup Tutorial

Hello Hello!

Today's tutorial is on a wearable cat eye inspired makeup that you can wear for a Halloween party or simply on a night out. 

I hope you enjoy!

Here's the finish look!~

With my lids already primed with the Lorac Behind the Scenes Eye Primer, I started by applying the shade Buff from the Lorac PRO 2 all over the lid and up 'til the brow bone using my Real Techniques Base Shadow Brush.

Using the same brush, I then took the shade Light Brown from the same palette and blended it on my crease and up towards the browbone.

I then blended the shade Cool Gray directly into my crease using the e.l.f. Blending Brush,.

Using the same Real Techniques brush and the shade Nectar, I blended out the Light Gray shade form the previous step up towards my browbone.

I then dabbed the same Nectar shade on the moving part of my lid using a flat shader brush.

With the same flat shader brush, I slightly defined my crease and the outer V with this Plum shade.

Using the Real Techniques Duo Fiber Eye Brush  and the same flat shader brush, I took the shade Snow and highlighted my browbone and the inner corners of my eyes.
To finish off with the eyes, I winged my eyes with a black gel eyeliner, curled my lashes, then added some mascara.
Here are the rest of the products used to create this look.
e.l.f. Mineral Face Primer, L'oreal True Match Mineral Powder Foundation in 'Natural Beige W4-5/464', Lorac Behind the Scenes Eye Primer, Lorac PRO Palette 2, e.l.f. Studio Blush in 'Pink Passion', Jordana Black Pencil Eyeliner, e.l.f. Cream eyeliner in 'Black', e.l.f. mascara Primer, Benefit They're Real Mascara, and NYX lipstick in 'Thalia'.


I hope you enjoyed this quick tutorial!


-Mary